The following instructions explain how to create and edit custom roles in Grants.gov. This includes viewing role privileges, deleting a custom role, or editing and renaming an existing custom role. You may also view, activate, or inactivate core roles. Click the Activate or Inactivate links in the Availability column to toggle the availability of the core roles.
Inactivating a role from this page limits the roles that users can assign from the Manage Applicants page. It does not keep the system from assigning the Expanded AOR role to a user recognized as the EBiz POC for your organization.
To create and edit an organization's roles, a user must have the Expanded AOR role or a custom role with the Manage Organization privilege.
Before creating or assigning custom roles for the first time, read the Manage Organization Roles help article.
How to View a Role
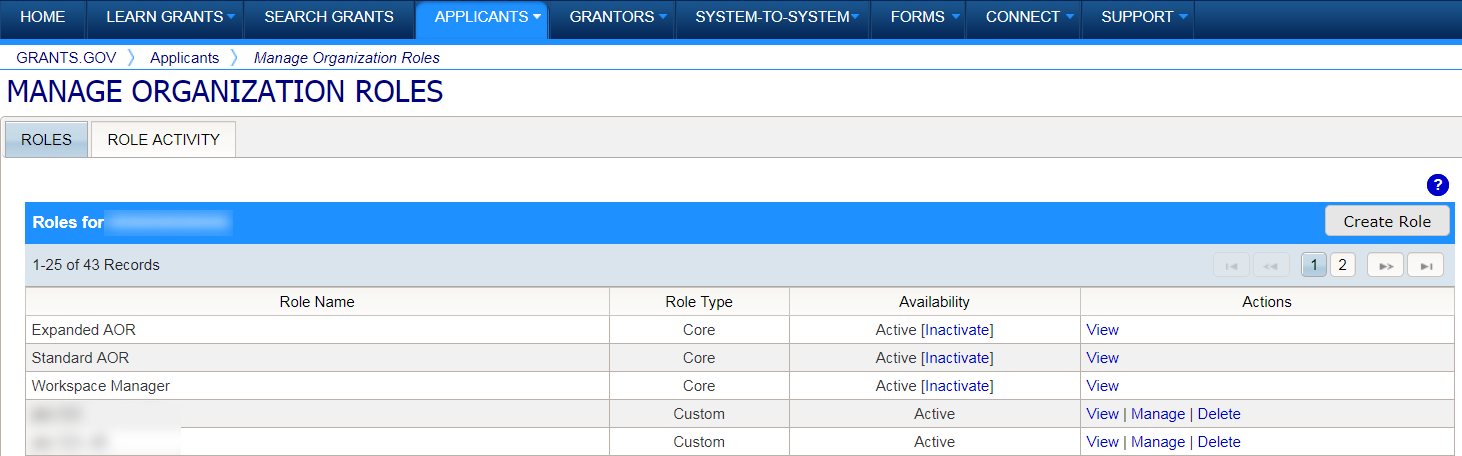
Click the Manage Organization Roles link in the navigation menu.
Under the Roles tab, locate the role you would like to view.
Click the View link in the Actions column.
Review the role’s privileges.
Click the Close button when you are done.
How to Create a Custom Role
Click the Manage Organization Roles link in the navigation menu.
Click the Create Role button on the top right corner of the Roles table, under the Roles tab.
Name the new custom role and assign privileges.
Click the Save button. The role will now appear in the Roles table.
How to Delete a Custom Role
Note: If a custom role is assigned to any user(s), it may not be deleted. Remove the custom role from all users prior to deleting a custom role.
Click the Manage Organization Roles link in the navigation menu.
Under the Roles tab, locate the custom role you would like to delete.
Click the Delete link in the Actions column.
The role will disappear from the roles table and a message at the top of the window will reflect this change.
How to Edit and Rename a Custom Role
Click the Manage Organization Roles link in the navigation menu.
Under the Roles tab, locate the custom role you would like to edit and rename.
Click the Manage link in the Actions column.
Give the modified role a name. It can be the same name, or it can be a new name.
Add or remove privileges as needed.
Click the Save button to finalize the changes, or click the Cancel button to return to the Roles tab without making a change to the custom role.
The revised role will reappear in the Roles table, and a message at the top will note the change.